Back

How To Design Your Dream Garden in 5 Simple Steps

Olivia Peat
Olivia Peat
May 17, 2024
Whetheryou’rebuyinganewbuildhomeanddesigningyourdreamgardenfromablankcanvas,orarelookingtotransformyourexistinggardenwithsomecleverdesigndetails,here’sour5simplesteps.

Step 1. Create a wishlist

Before you jump in and begin creating your garden design, it’s important to understand what you want to achieve and create a wishlist of what you’d like to incorporate into the garden design. Ask yourself these simple questions:
1. What is your budget?
It is important to have a budget figure in mind from the outset so that your garden design will be realistic and achievable
2. What style of garden do you want?
Much like interiors, everyone has a different garden style. From wildly beautiful cottage gardens to clean and contemporary gardens, having a clear idea of what style suits you will help to shape your design.
3. How will you use your garden?
Do you love to whip out the barbeque at the first sign of sun? Then consider zoning a designated space for cooking and alfresco dining. Or if you’re a sun worshipper and want to create a space to relax in the rays, consider which area of your garden gets the most sun throughout the day and create a zone for some loungers or relaxed seating.
4. What level of maintenance do you want?
Maybe you’re green fingered and love spending your downtime tending to plants and flowers, or enjoy the smell of freshly cut grass? Or you might want a ready to enjoy garden that takes little to no maintenance.
5. When you dream of your perfect garden design, what does it include?
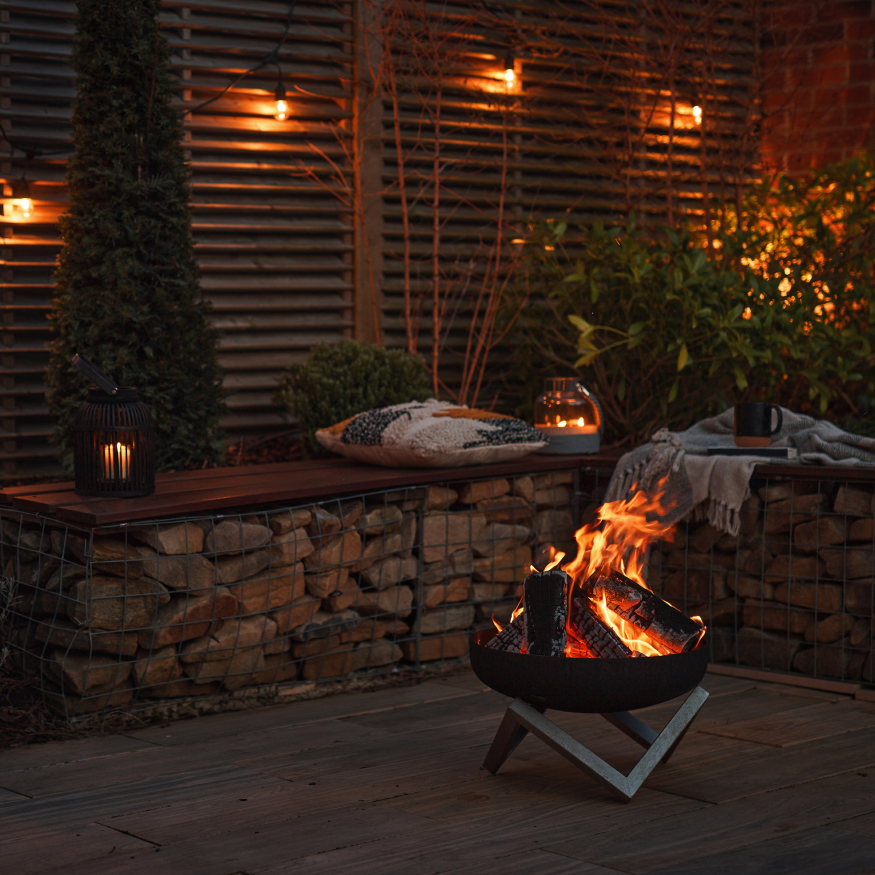
Like our interiors, our gardens are an expression of our personality and lifestyle. This is your opportunity to shape a garden design that features things that are both functional and beautiful. Is there anything you have always wanted, such as a vegetable patch to grow your own, or a relaxation zone with firepit and garden sofa? Whatever it is, add it to your wish list. 

Step 2: Understand your space

To create a realistic and functional garden design, you need to understand the space you’re working with. Some key questions to ask are:

  • What are the benefits and limitations of the space?
  • What shape is your garden, is it square/rectangle or does it have nooks and crannies to work with?
  • Are there any levels to take into account? Levels are often perceived as a negative in a garden, but when designed well they can actually offer much more scope for zoning and better using the space by stepping the garden up or down.
  • What is the soil and climate like?
  • Are there any shady or sunny spots, or areas that get a mix of sun and shade as the day progresses? This will impact what plants will thrive in your garden as well as what purpose you design each garden segment for.

Once you have the measurements and shape, draw a rough outline of your garden to begin mapping out your design.

Step 3: Start Designing Garden Zones

It’s time to add that wish list into your garden! Considering who you identified would be using the garden and what they might be using it for, start to work out how much space each zone might need (both floor space and height) and what’s important for that zone to work (e.g. needs full sun or has to be close to the house).

Here’s some ideas of zones to consider:

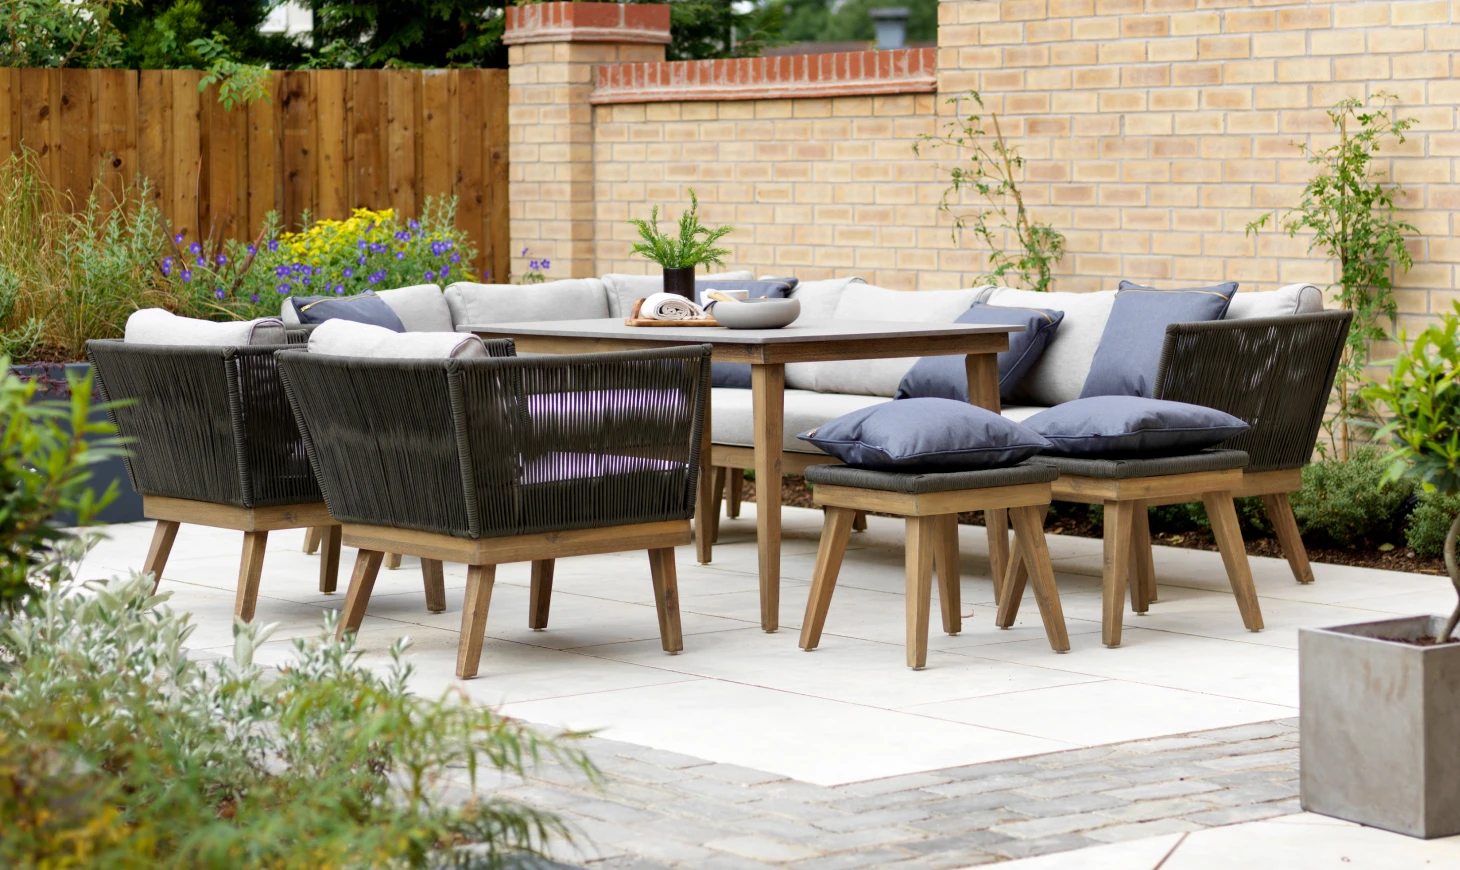
  • Alfresco dining zone: A patio area closest to your house, with an outdoor dining table perfect for enjoying family meals outside. You could even create an area for a BBQ or pizza oven.
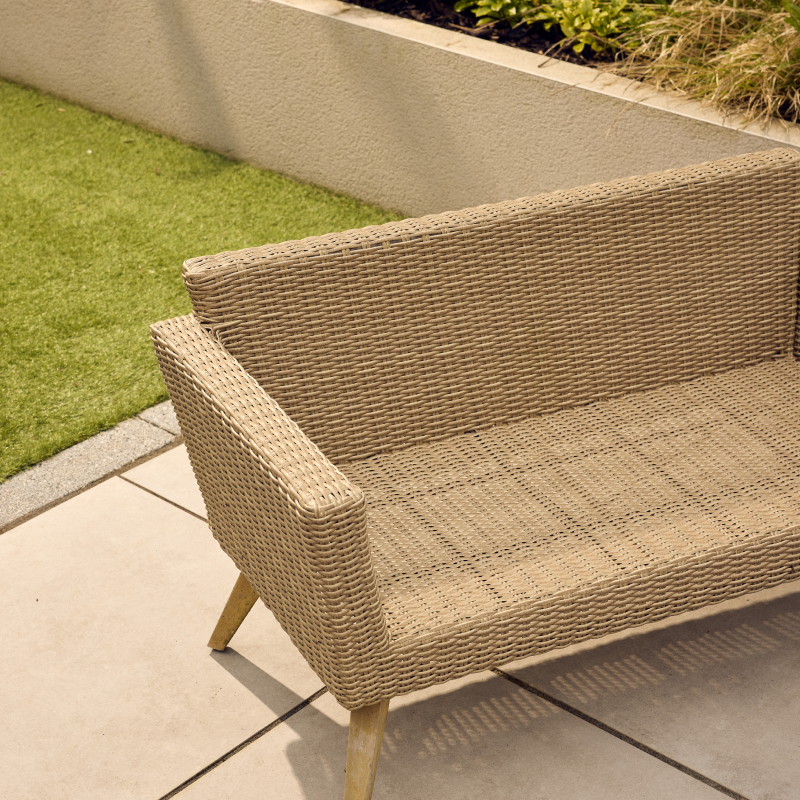
  • Relaxation zone: Further into your garden, boarded by calming flowers, plants and shrubs, an area for some relaxed seating. This could be a garden sofa or some sun loungers, or even just a bench. Ideally this would be somewhere that gets sun if you’re wanting to soak up some vitamin D while you relax.
  • Play zone: This space can be as large or small as you wish! From a full climbing frame and sandpit, to just a green space to run around, this play zone should be something that can grow with your children and give them their own space to feel safe and play. 
  • Grow zone: Whether it’s a vegetable patch or just a bedding area for some beautiful plants you’d like to nurture to life, if having a space to let out your inner gardener is important to you then make sure you incorporate this into your design. The lighting and soil needs will depend on what you’re growing, so it’s best to research this before planning what position this should be added.

Step 4: Textures and Materials

Now you have an idea of what zones your garden will be split into, it’s time to consider what textures and materials you can use to create these zones.

Here are some common materials used to add texture and interest to garden designs:

Gravel and sleepers: A cheap and versatile option for creating zones, gravel and sleepers in garden designs are often used to create a section for dining and relaxation. You’ll often find gravel and sleepers in garden designs that have levels, as they easily allow you to step the garden up or down.

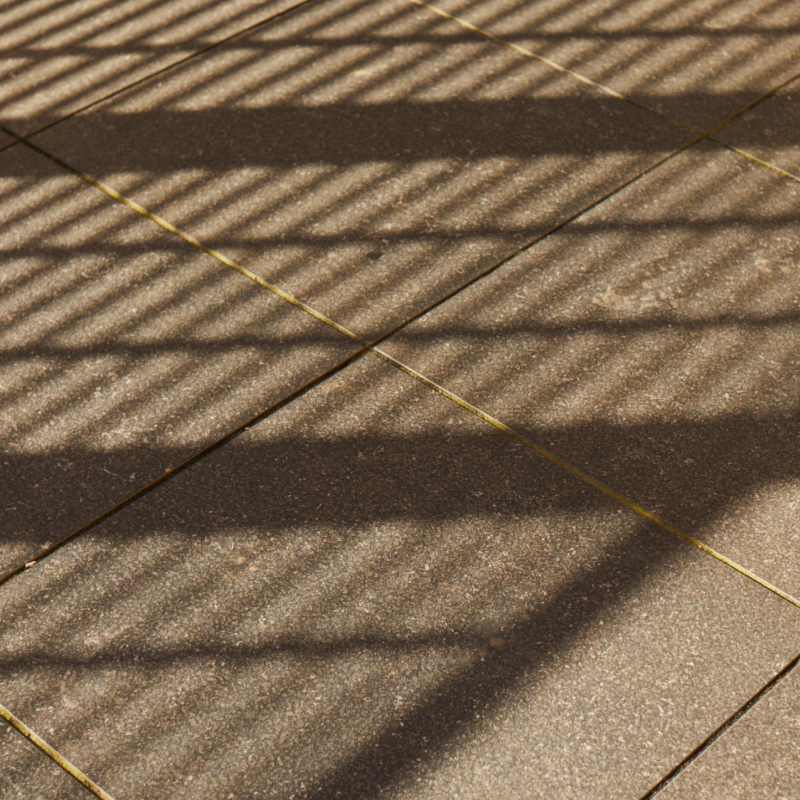
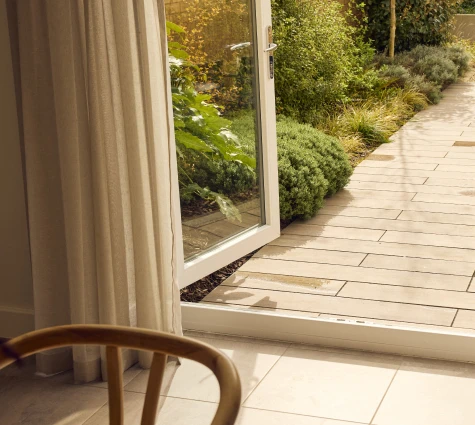
Paving and outdoor tiles: There are a variety of paving and outdoor tiles available to suit all budgets, styles and uses. In Strata’s show homes, we often use outdoor tiles as a way to flow the interior flooring out into the garden seamlessly.

Fencing and screens: From traditional wooden fencing and railings, to contemporary screens and glass barriers, there are options to suit every budget and garden design. Screens are a great way to create privacy, for example around a hot tub or relaxation are.

Living walls: are another interesting way to split sections of the garden up and create interesting focal points throughout the design. The style you’re trying to achieve will influence which material of fence or screen you choose.

Planting beds and boarders: These can be created at any height and either be fully contained or simply sectioned off within the ground. Your garden’s soil type and what you’re wanting to plant or grow will dictate whether or not you can plant in the ground level bedding areas or whether you need designated planters above ground to allow you to control sun/shade and soil conditions. Planters can be found in an array of materials, from traditional wood to contemporary concrete and stone, to complement any garden style.

Furniture and accessories: Thinking back to your preferred garden style from step 1 will help you to shape the furniture and accessories. Whether you’re aiming for a country cottage feel, with lots of painted wood and rustic stone elements, or a modern and industrial feel with lots of clean lines and metal textures, there are so many garden furniture options to express your personal style and shape your dream garden.

Step 5: Plan Your Time and Budget Wisely

1
Do you need professional help for any elements? Professional landscapers are often booked up months in advance, so any elements of the project that will require a professional will need to be booked in before beginning the project. It’s also worth considering how this will impact your budget.
2
Is the design achievable within your budget? Your plans may exceed your budget, so do you need more time to save before you begin or need to stagger sections of the design project to allow you to save for the next phase.
3
Time of year and weather: While you probably want your garden ready to enjoy by the time the warmer months arrive, you also need to consider the impact of weather if you start a garden project in the autumn/winter months. Even spring can have heavy rainfall before May, so sometimes May and June are the best times to begin work on a garden project due to being dryer and warmer.